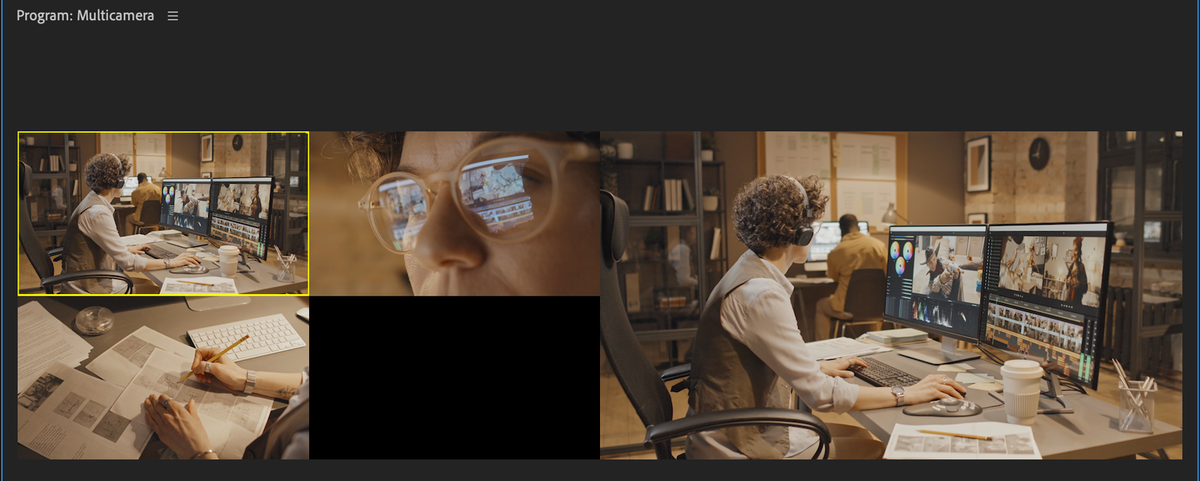
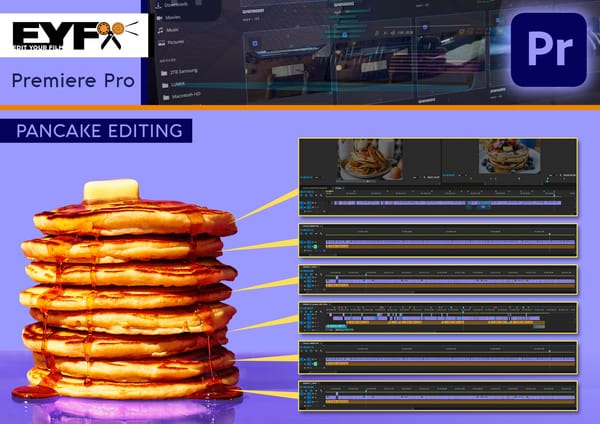
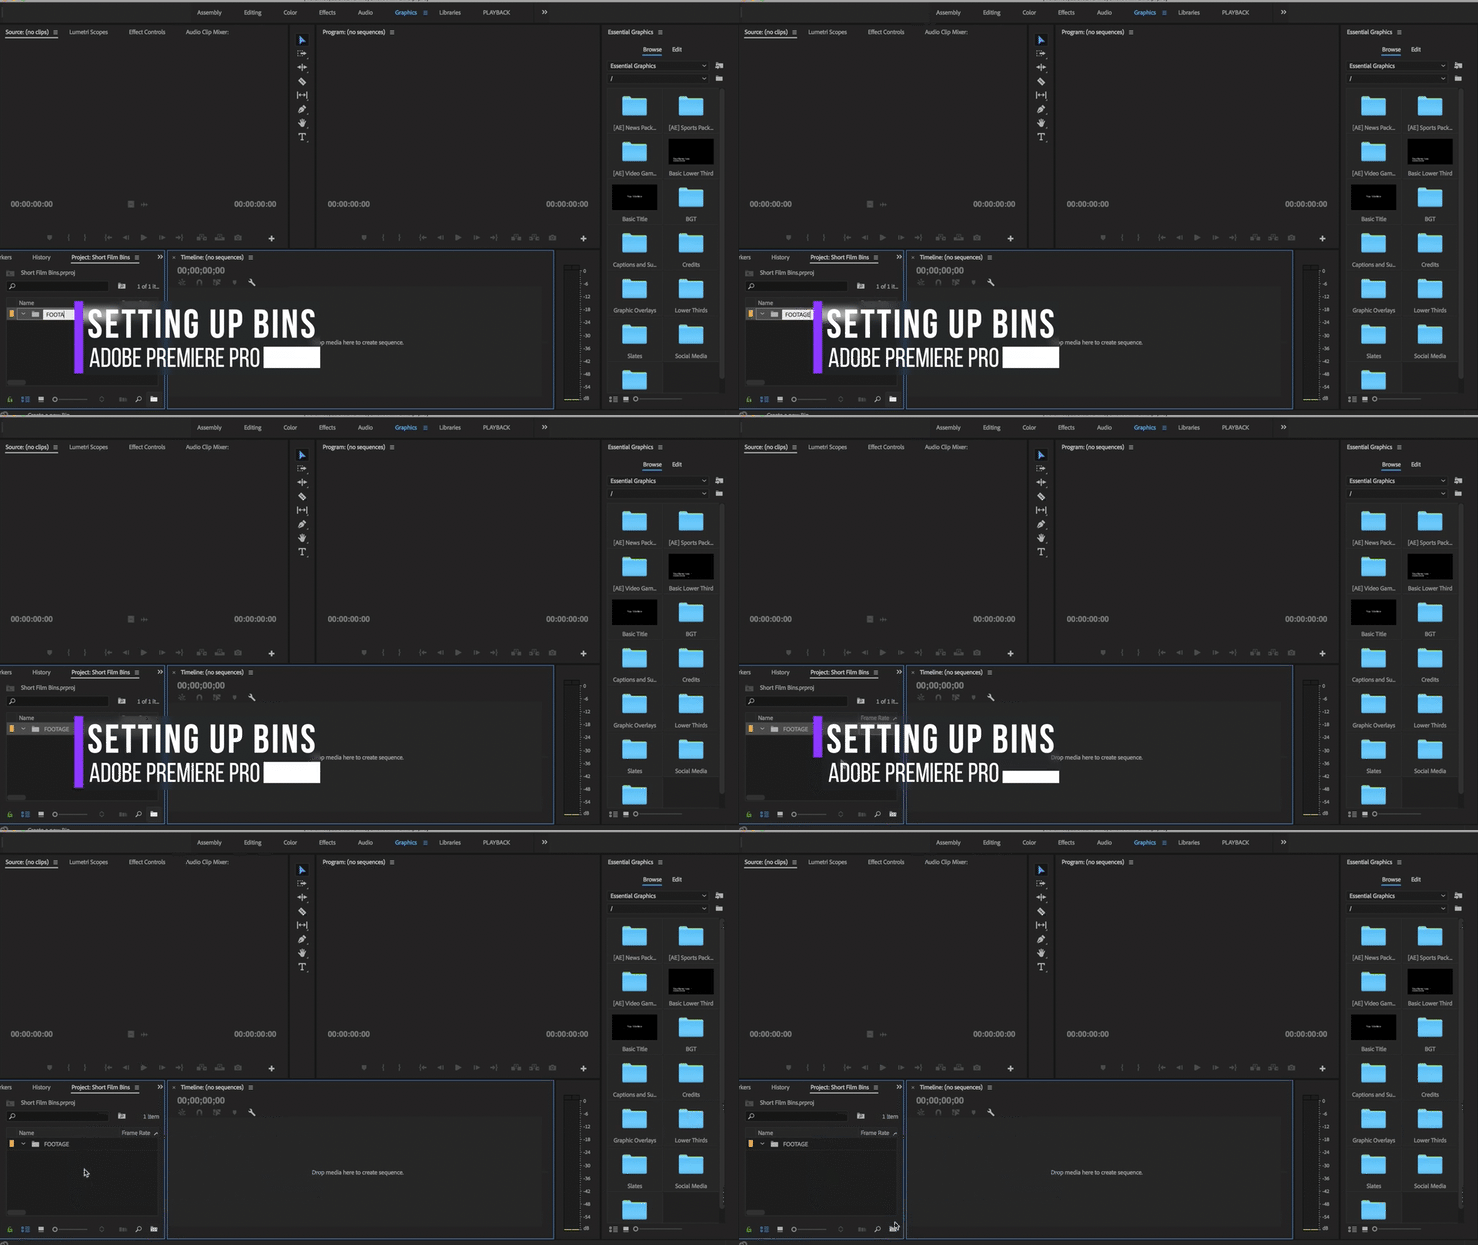
Multi-camera editing is something every editor can use to help speed up their workflows, so they no longer have to stay till 2 am / 3 am working on syncing audio and cameras clips.
PREMIERE PRO
STEP-BY-STEP GUIDE
- Rename your Camera Clips e.g Camera 1, Camera 2, Camera 3 etc.
- Select All Cameras Clips, and Right click 'Create a Multi-Camera Sequence'.

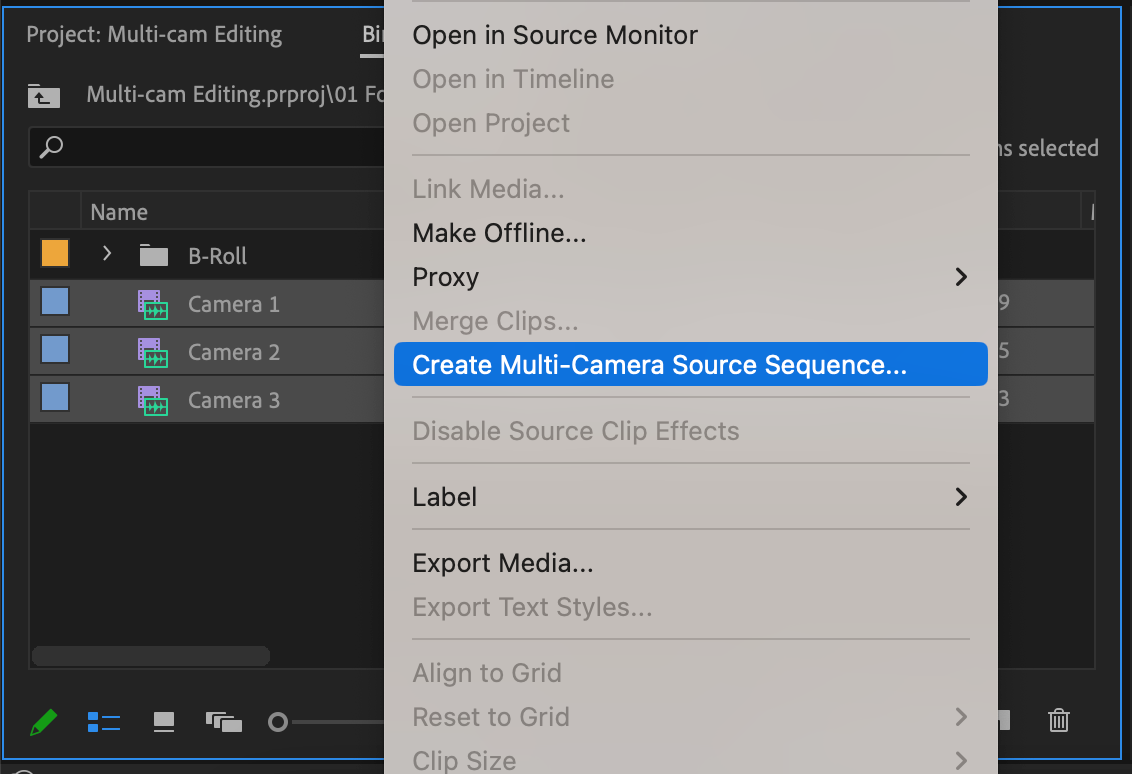
- Opens Opens - Create Multi-Camera Source Sequence dialogue box. You can give it a name here.
Change Video Clip Name: Custom [Type in the video name e.g. Multicamera]
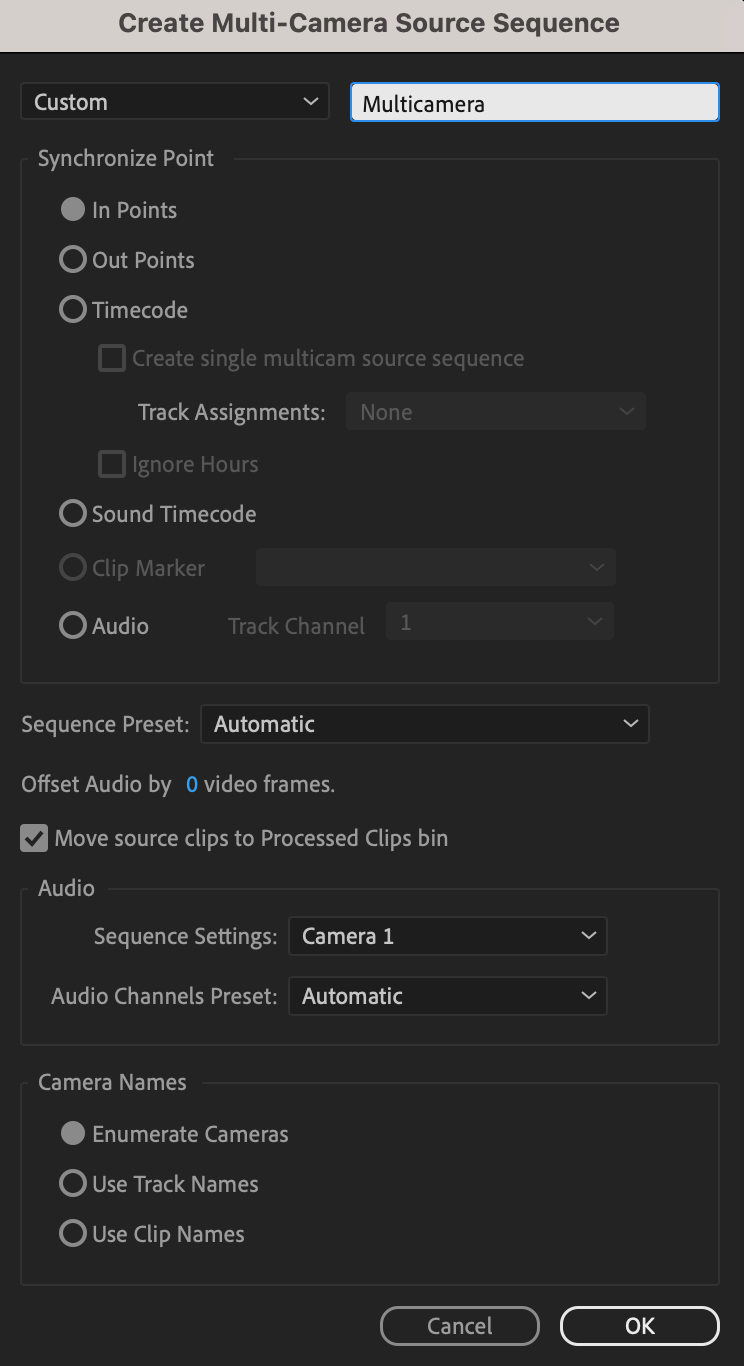
- Choose Sync Clips by Audio [Under Synchronize Point], Then choose Track 1

- Audio > Sequence Settings - You can choose camera [in most cases - If this is your main camera]

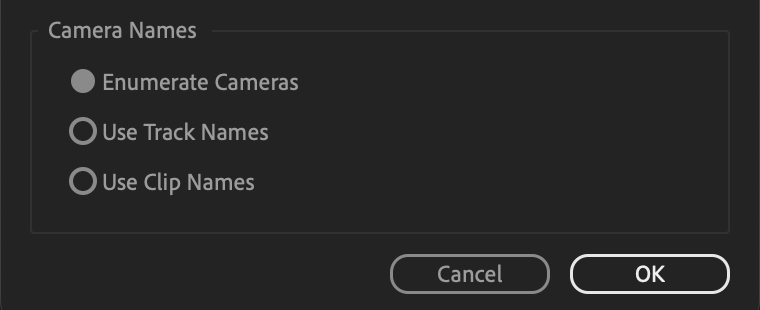
- Under Camera Namers > Choose 'Use Clip Names'
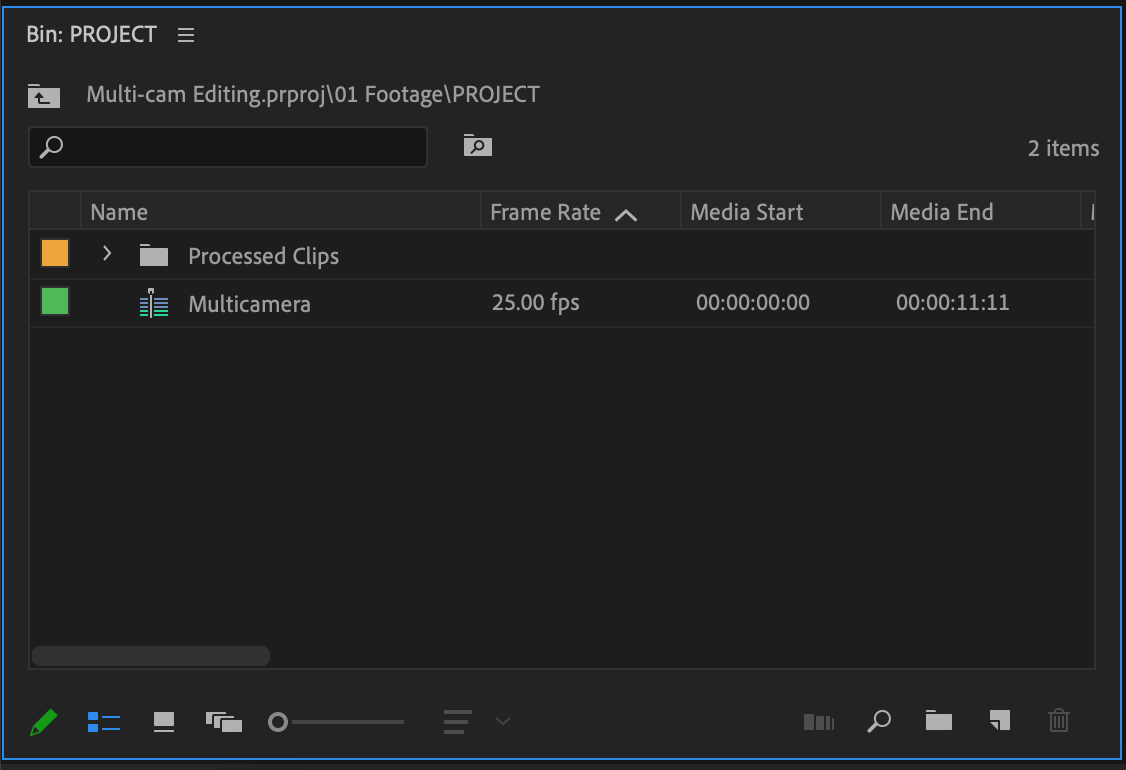
- In the Project Panel - You will now have a Processed Clips Bin and a Multicam Sequence (which has a different icon).
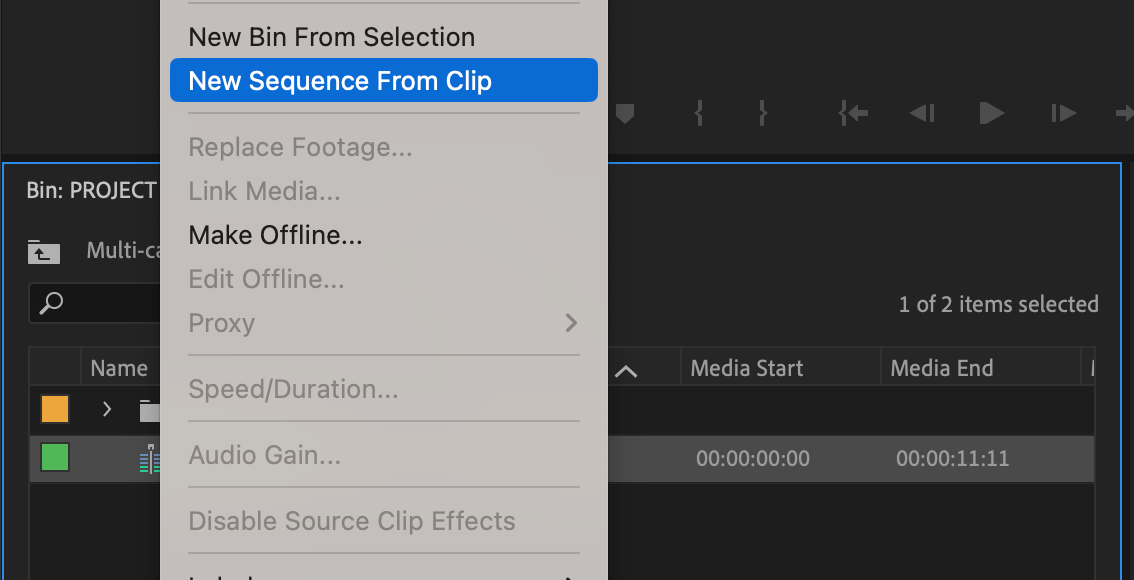
- Right click on the Multicam Sequence and choose 'New Sequnce From Clip'.
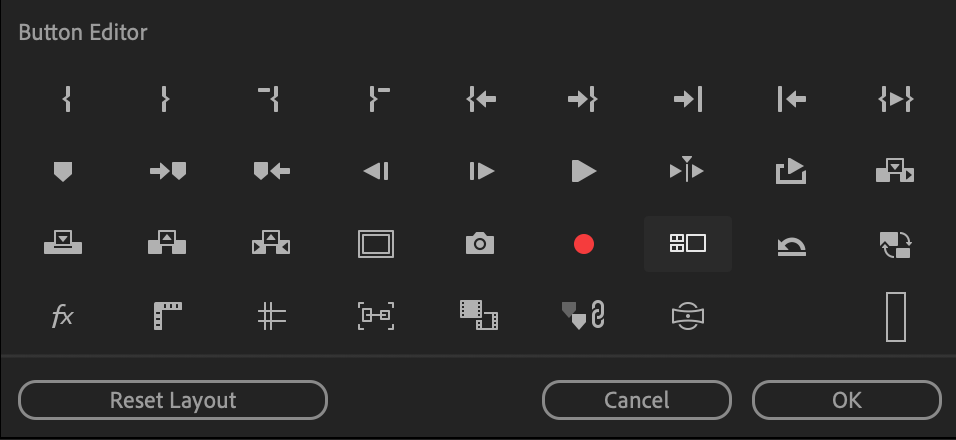
- Open Multicamera View but Clicking on the 'Toggle Multi-Cam View' icon below your Program monitor.

If you dont see the 'Toggle Multi-Cam View', Click on the + Button to the right to add it to the menu (Drag it into position on the toolbar [below the Program Monitor( If required)].
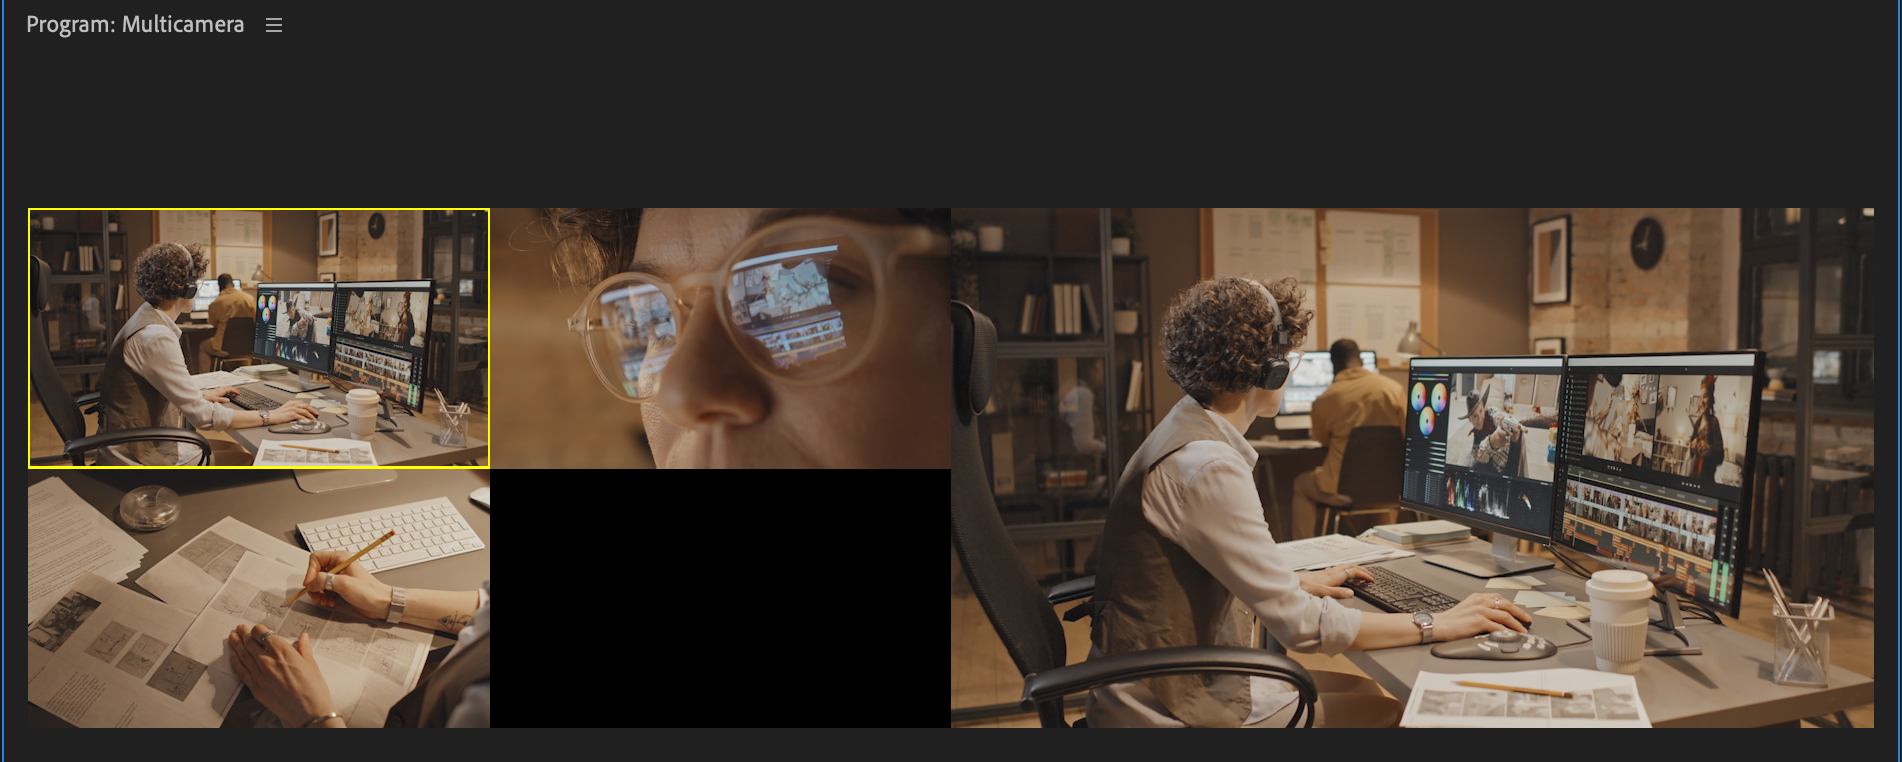
- The Preview Monitor will split into two, Left side shows all your different Camera angles and the right an Output of your edit.
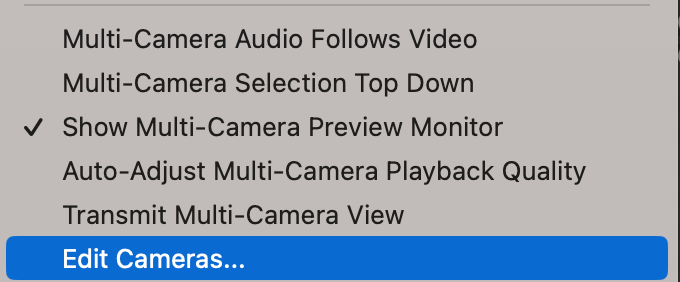
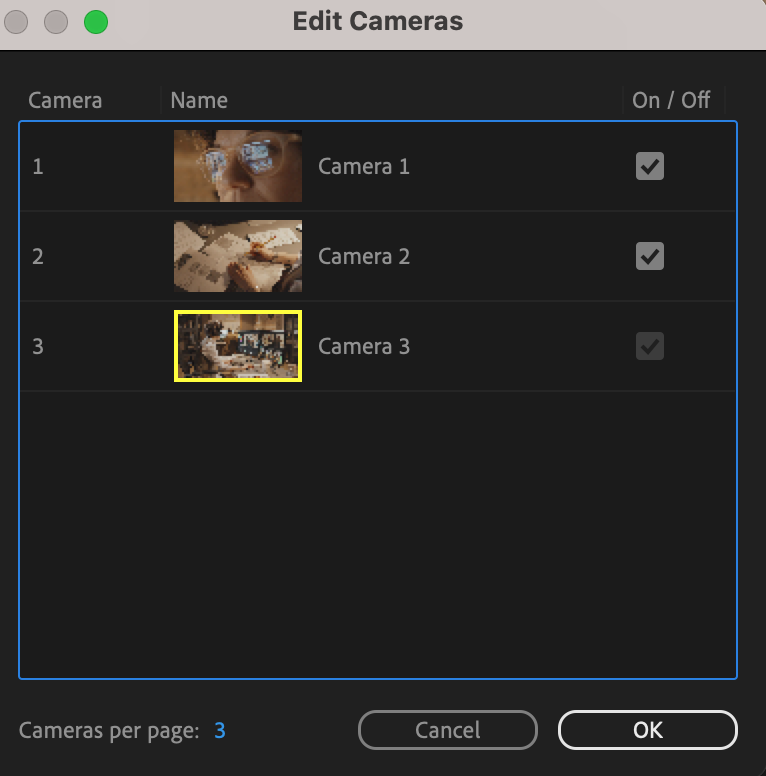
- If the Cameras are not in the right order, Click on the wrench and choose 'Edit Cameras'
- Then you can drag and drop the cameras to rearrange the order.
- You can then click on your perfered camera or press 1,2,3
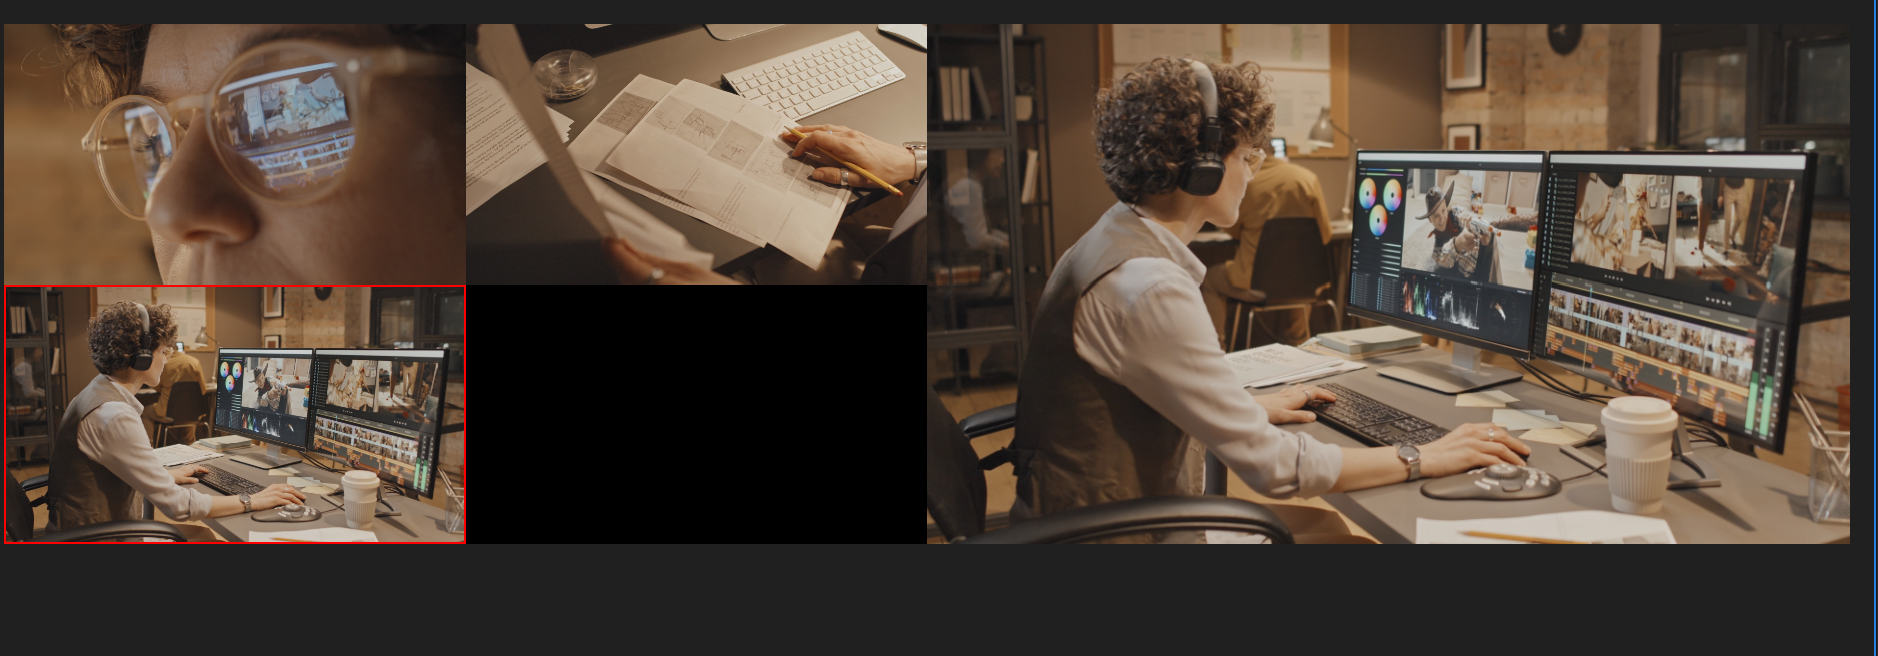
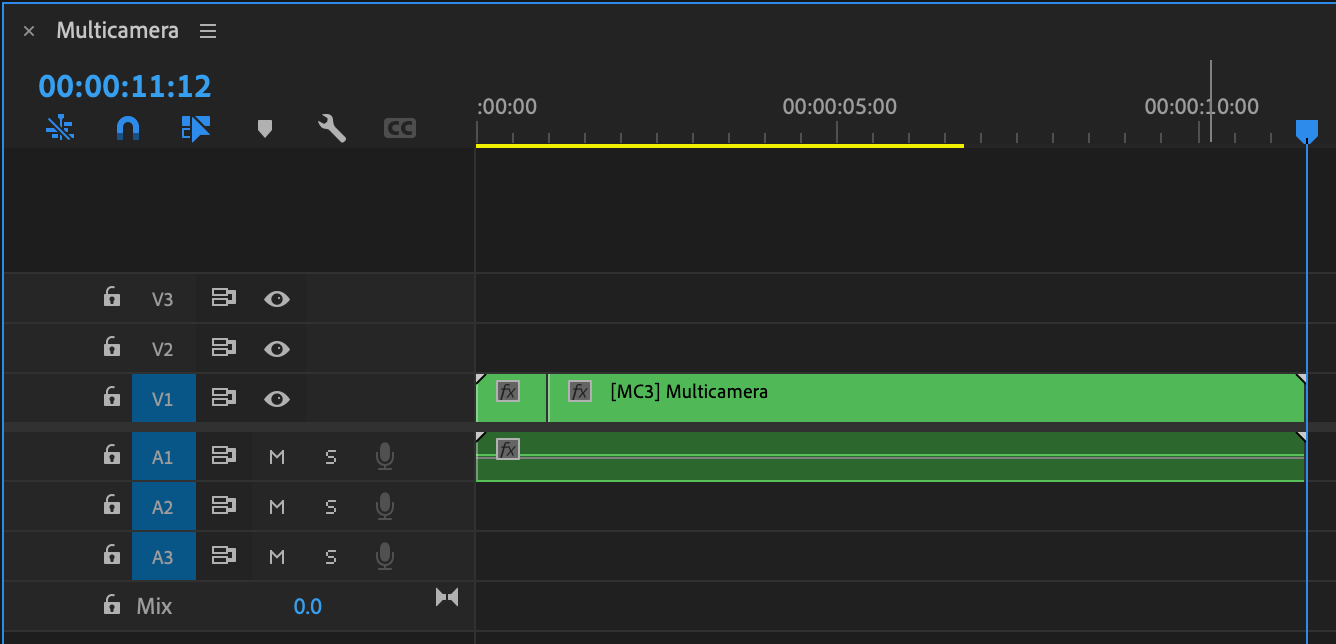
14 When you pause the video you will see the cuts you have made.
The footage in this step-by-step guide for Multicam editing is available on Artgrid.

