

How to export your film from Premiere Pro.
Video
If you are struggling to get your final Film to its audience, here is a quick thirty-second video to help you solve your issue.
Get your Film out there - Export Your Film in Premiere Pro
Step-by-Step Guide
1. Make sure your 'Timeline' area is selected
eg it is surrounded by a blue box.
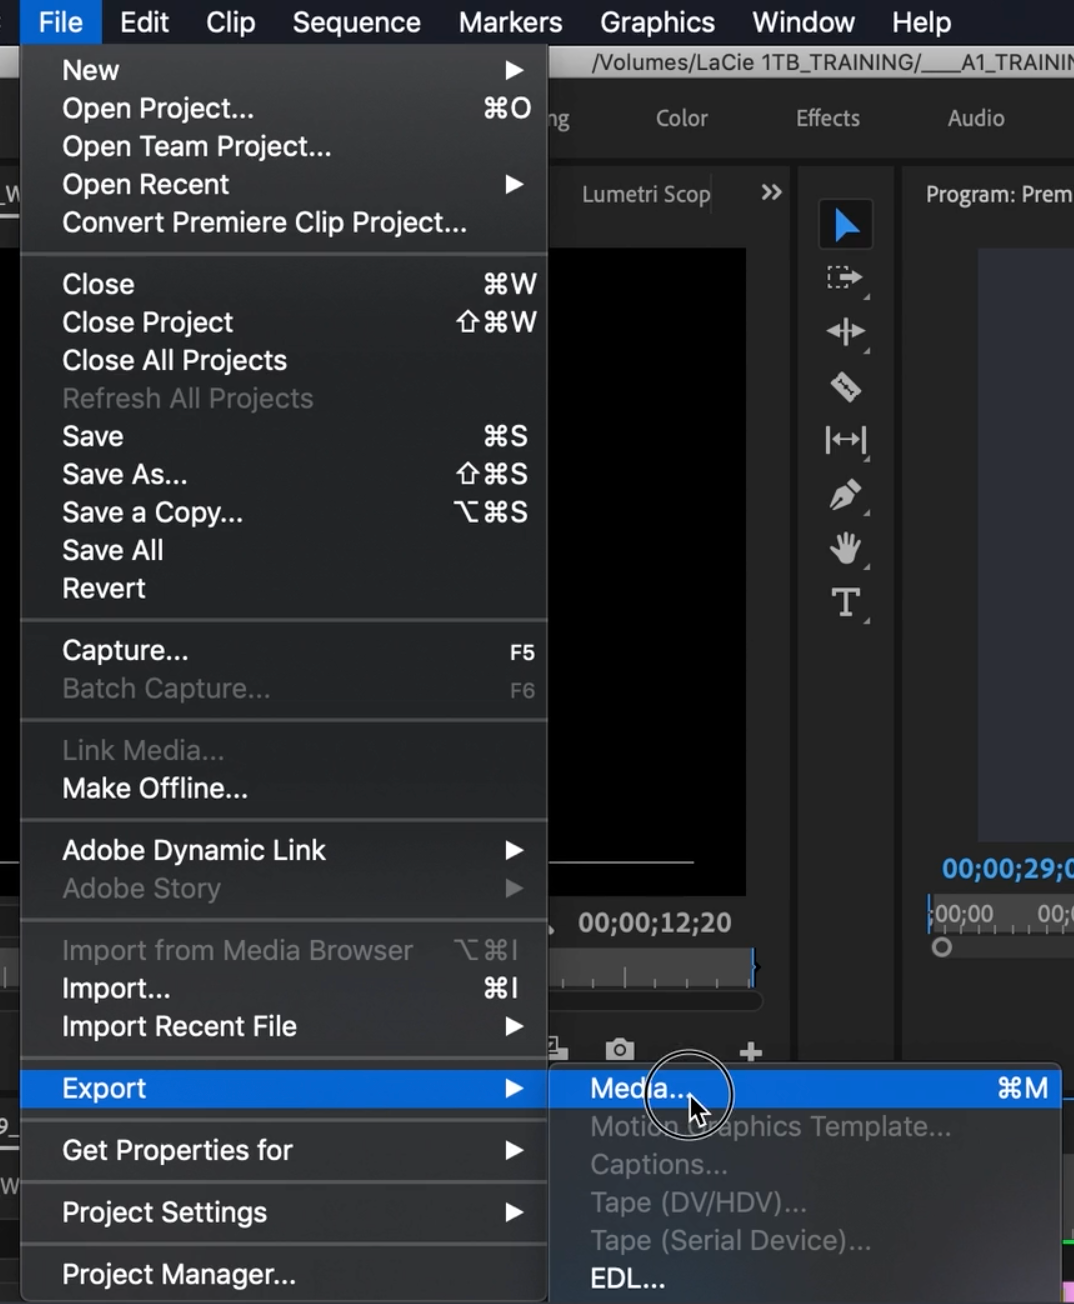
2. File > Export > Media
- the export settings dialogue box will appear.
3. In the export setting dialogue box.
Choose Format (On the right-hand side under Export Settings).
You will be told what to deliver your film in usually, with Film Festivals, this can be found on the Festival Submission Guidelines.
4. Choose the required Preset
For example, YouTube 720p HD. If you are exporting for social media, a full list of the requirements can be found on YouTube, Facebook, Vimeo etc.
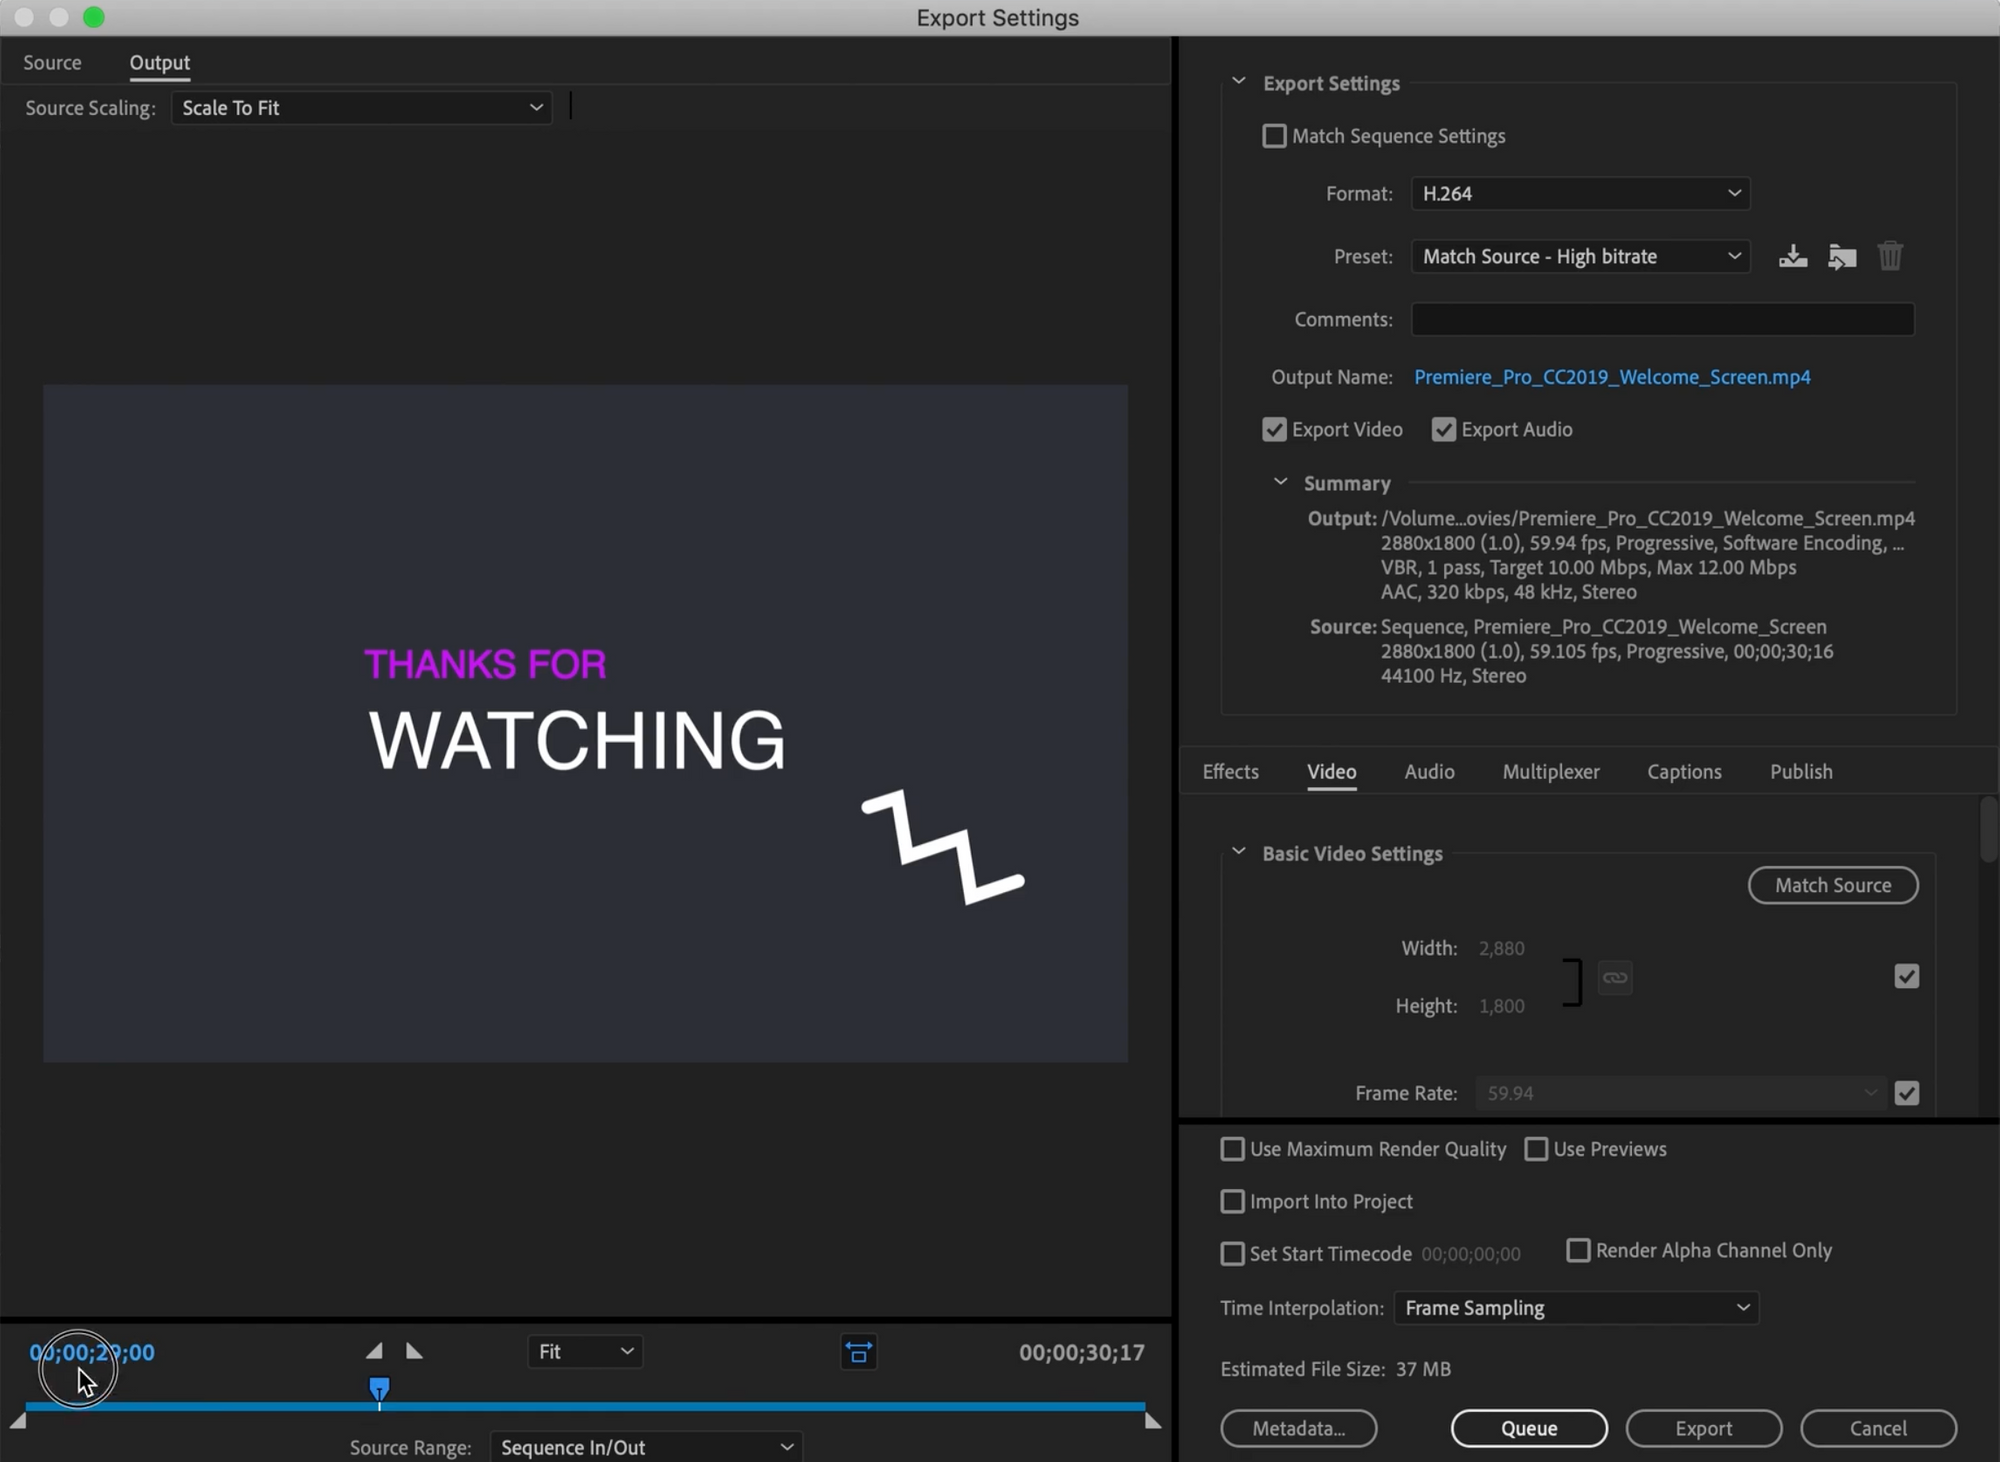
5. Label your film (file)
This appears as a blue file name. You could save this old to the desktop for example and you will always know where your outputted films are.
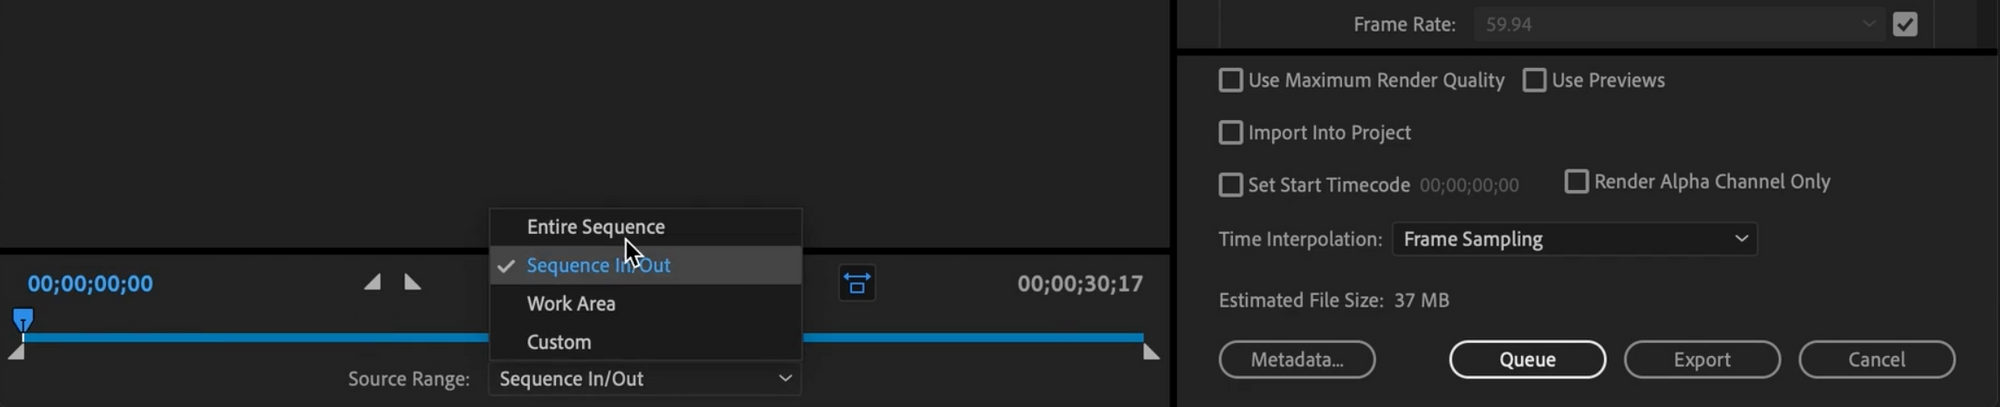
6. Choose 'Entire Sequence'. or 'In to Out Point'.
If you have marked the clip on the Timeline.
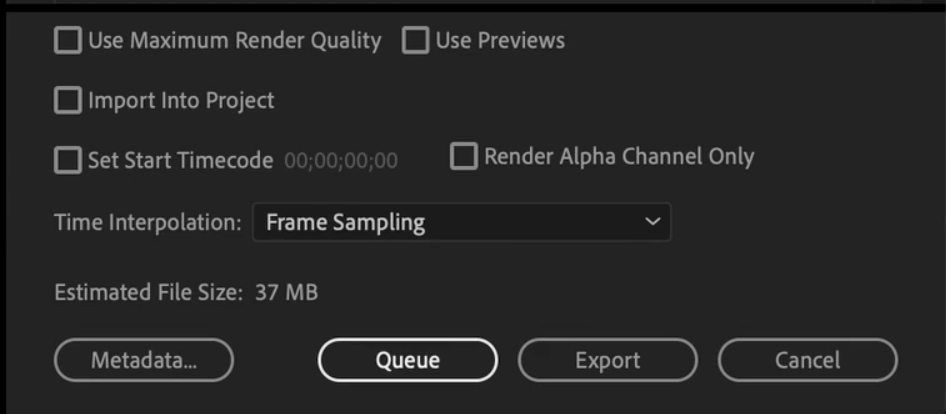
7. Check you film will export correctly,
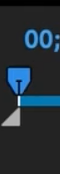
Click on the blue play head and 'scrub' through the footage.
8. Check that on the display above the timeline scrub section,
Does this have the correct duration of your film?
9. Place your play head at the very start of your film.

10. You are now ready to 'Export' your film.
Remember your final film will save to your desktop, this should be moved to a safe storage place for display or backup.